Thoughts on faith, life, and art.
2. New Lanterns for the Christmas Concert
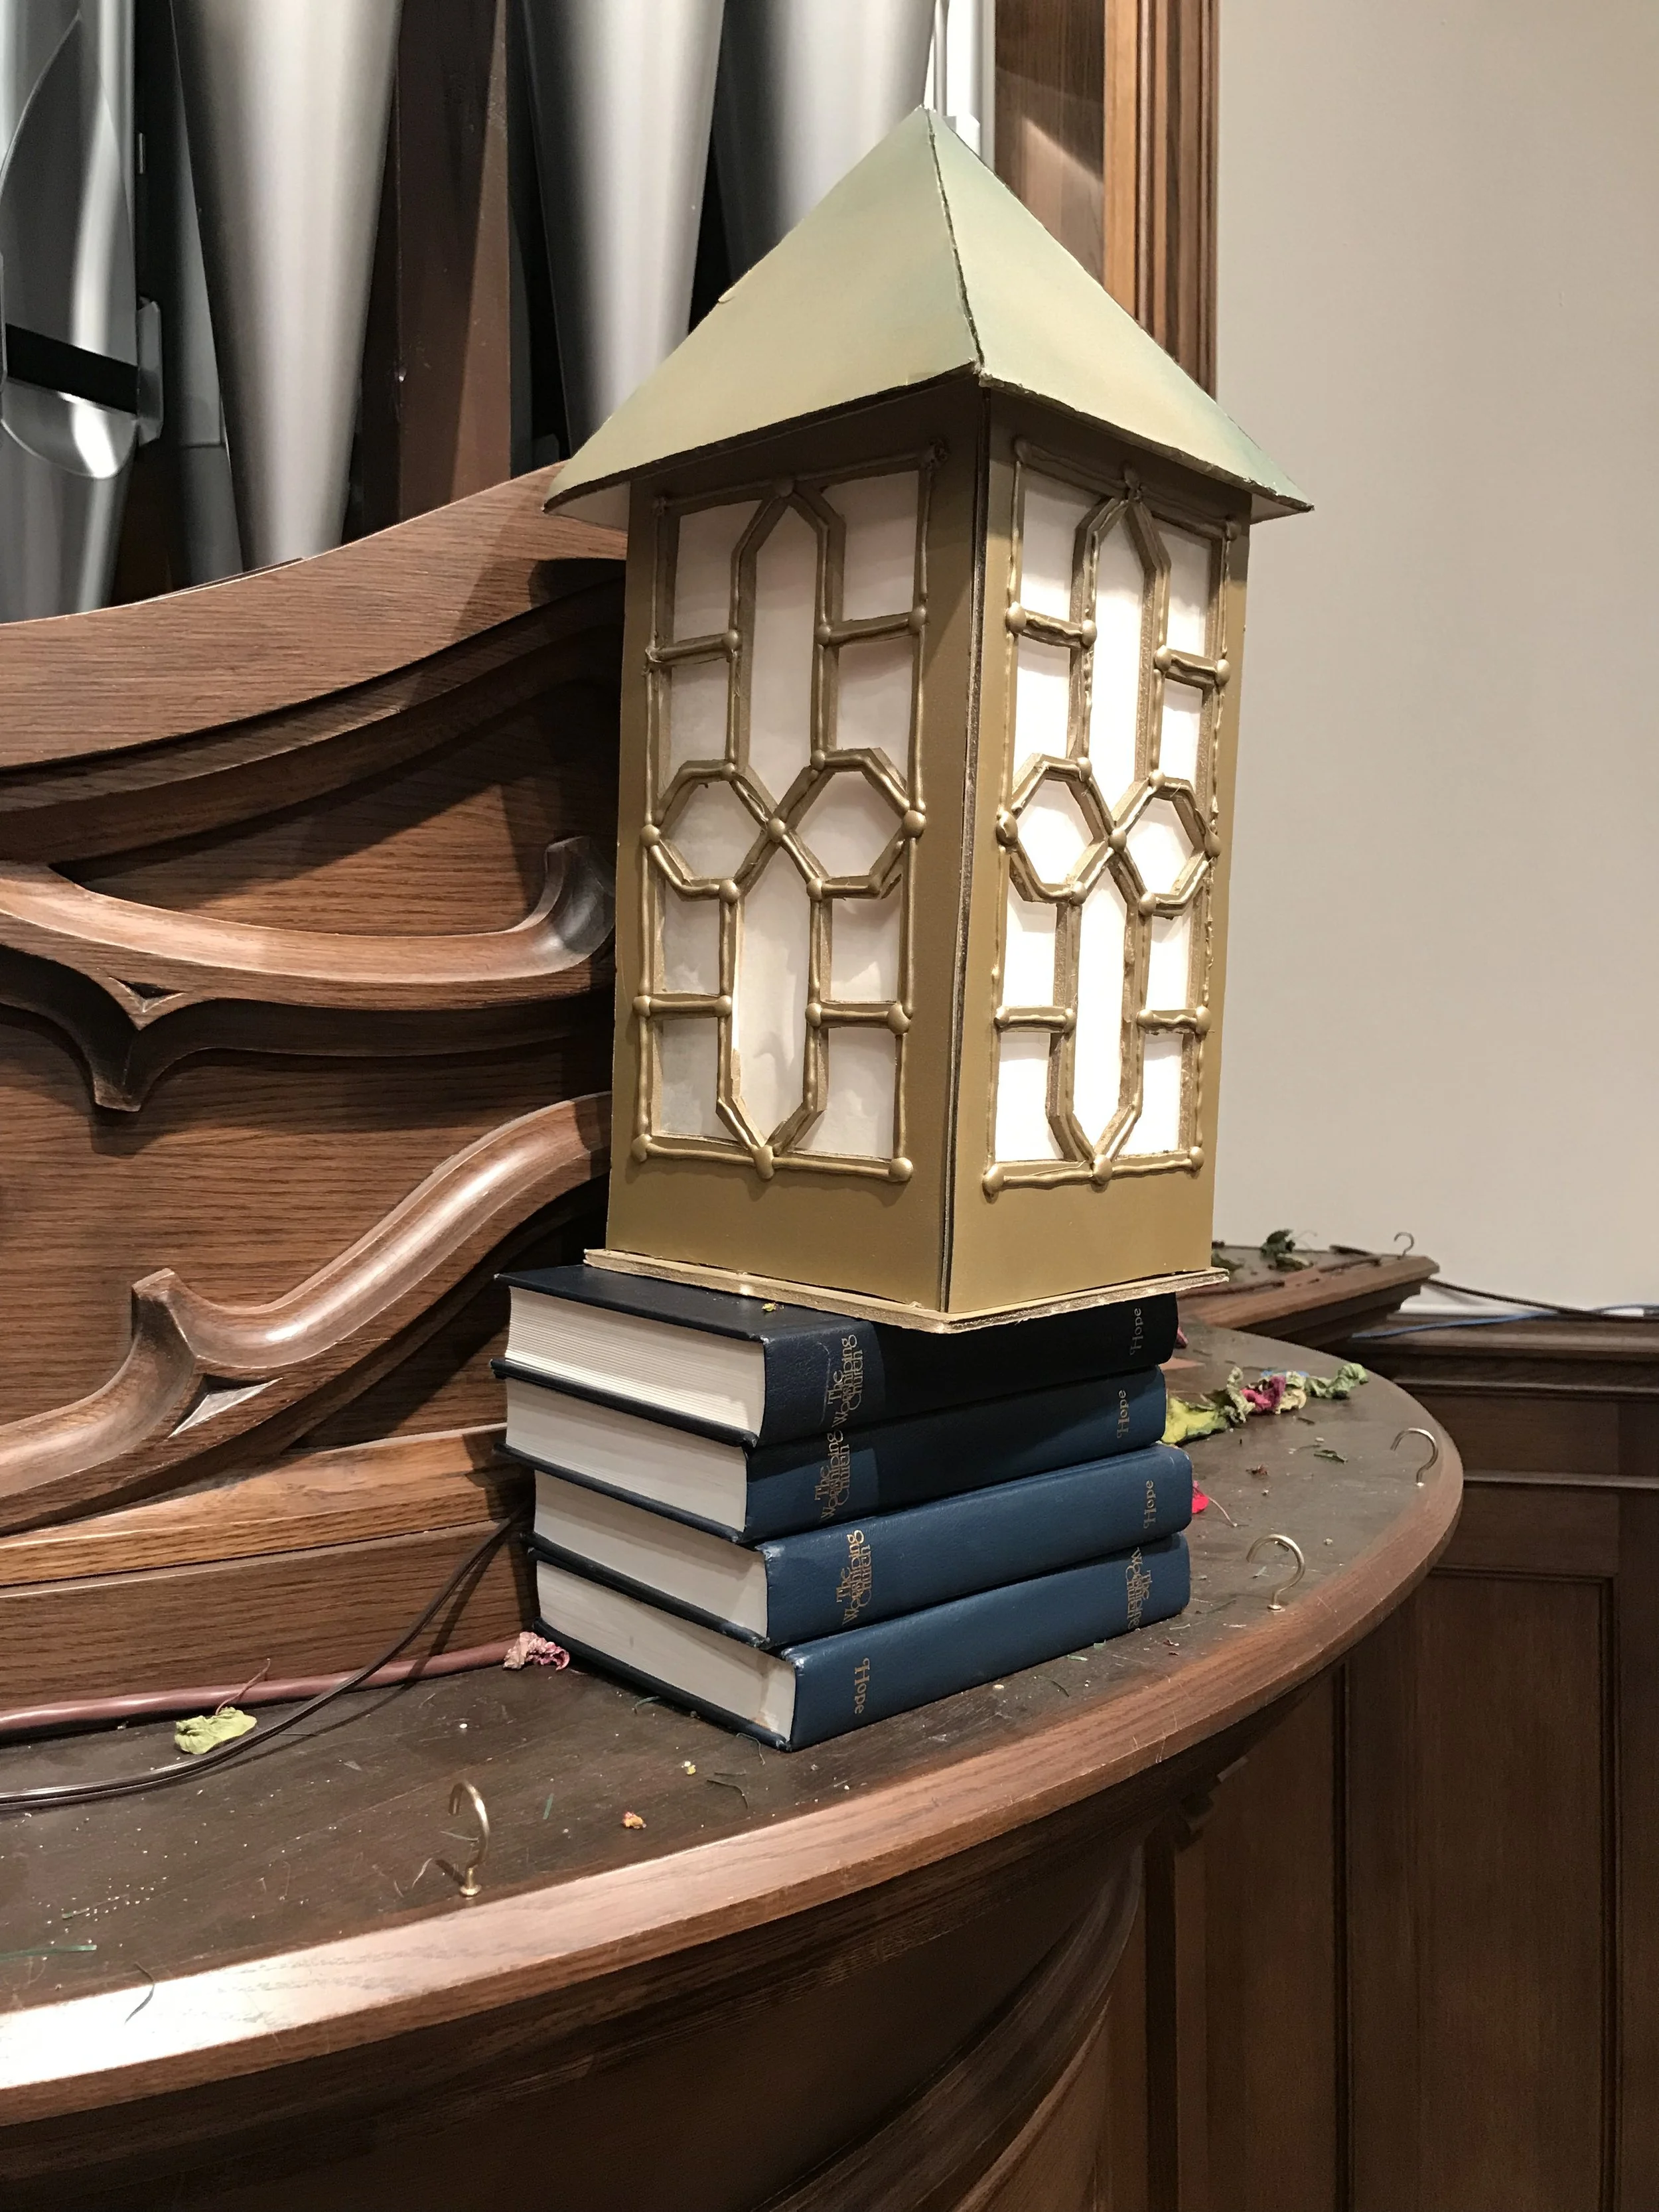
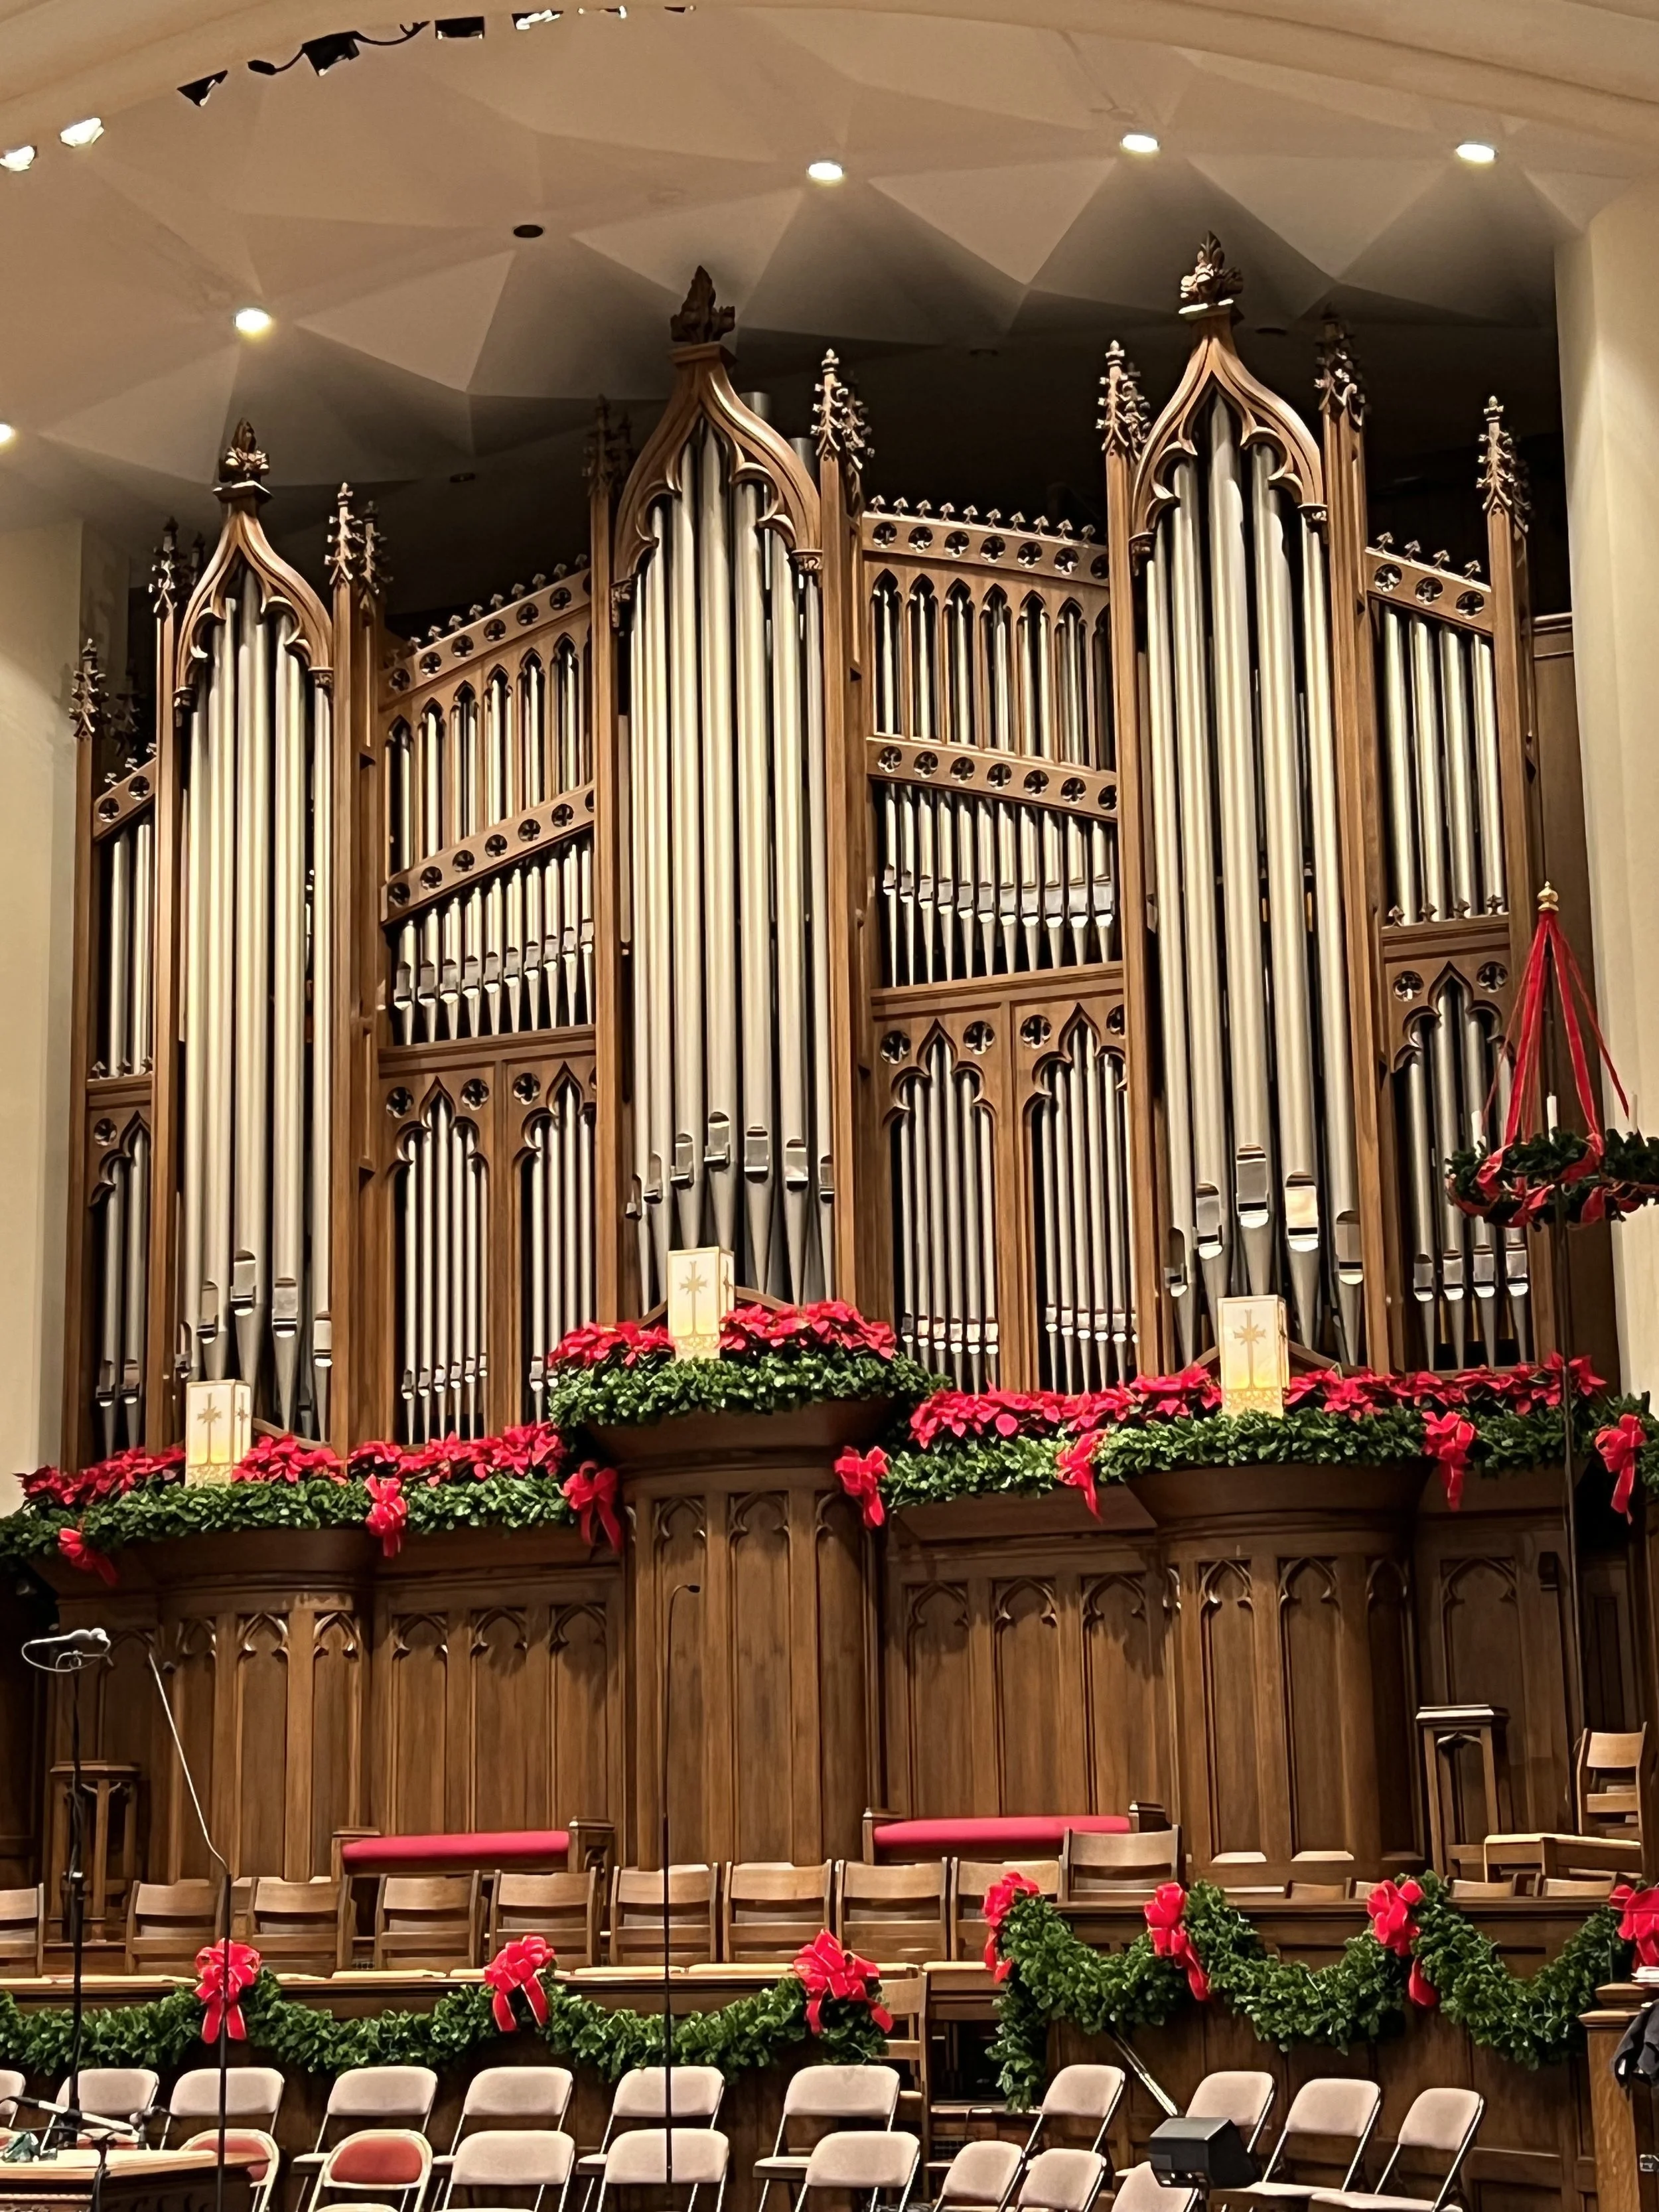
Every year, our Church puts on the most spectacular and worshipful Christmas concert. It has been a great joy to participate in this in a variety of ways over the years. One of those ways, consists of watering 150 poinsettias three times a week for the entire month of December. Yes, it is every bit as tedious as it sounds, haha! Anyway, one of my other responsibilities has been to oversee the setup and tear down of all the Christmas decorations. For years now, our Worship Director has expressed a desire to have slightly larger Christmas lanterns, and it has been a personal goal of mine to make that happen. I have nothing against these lanterns, and as old as they are, they have held up remarkably over the years. Especially considering the fact that they were made out of foam core, and tissue paper. It's pretty impressive they survived as long as they did. However, you can see from the picture above, they are just a tad bit small, and kind of get swallowed up by all the poinsettias around them on the organ ledge. I say "small," but they're actually quite large—just not large enough to compete with the scale of the rest of the room. The old foam core lanterns
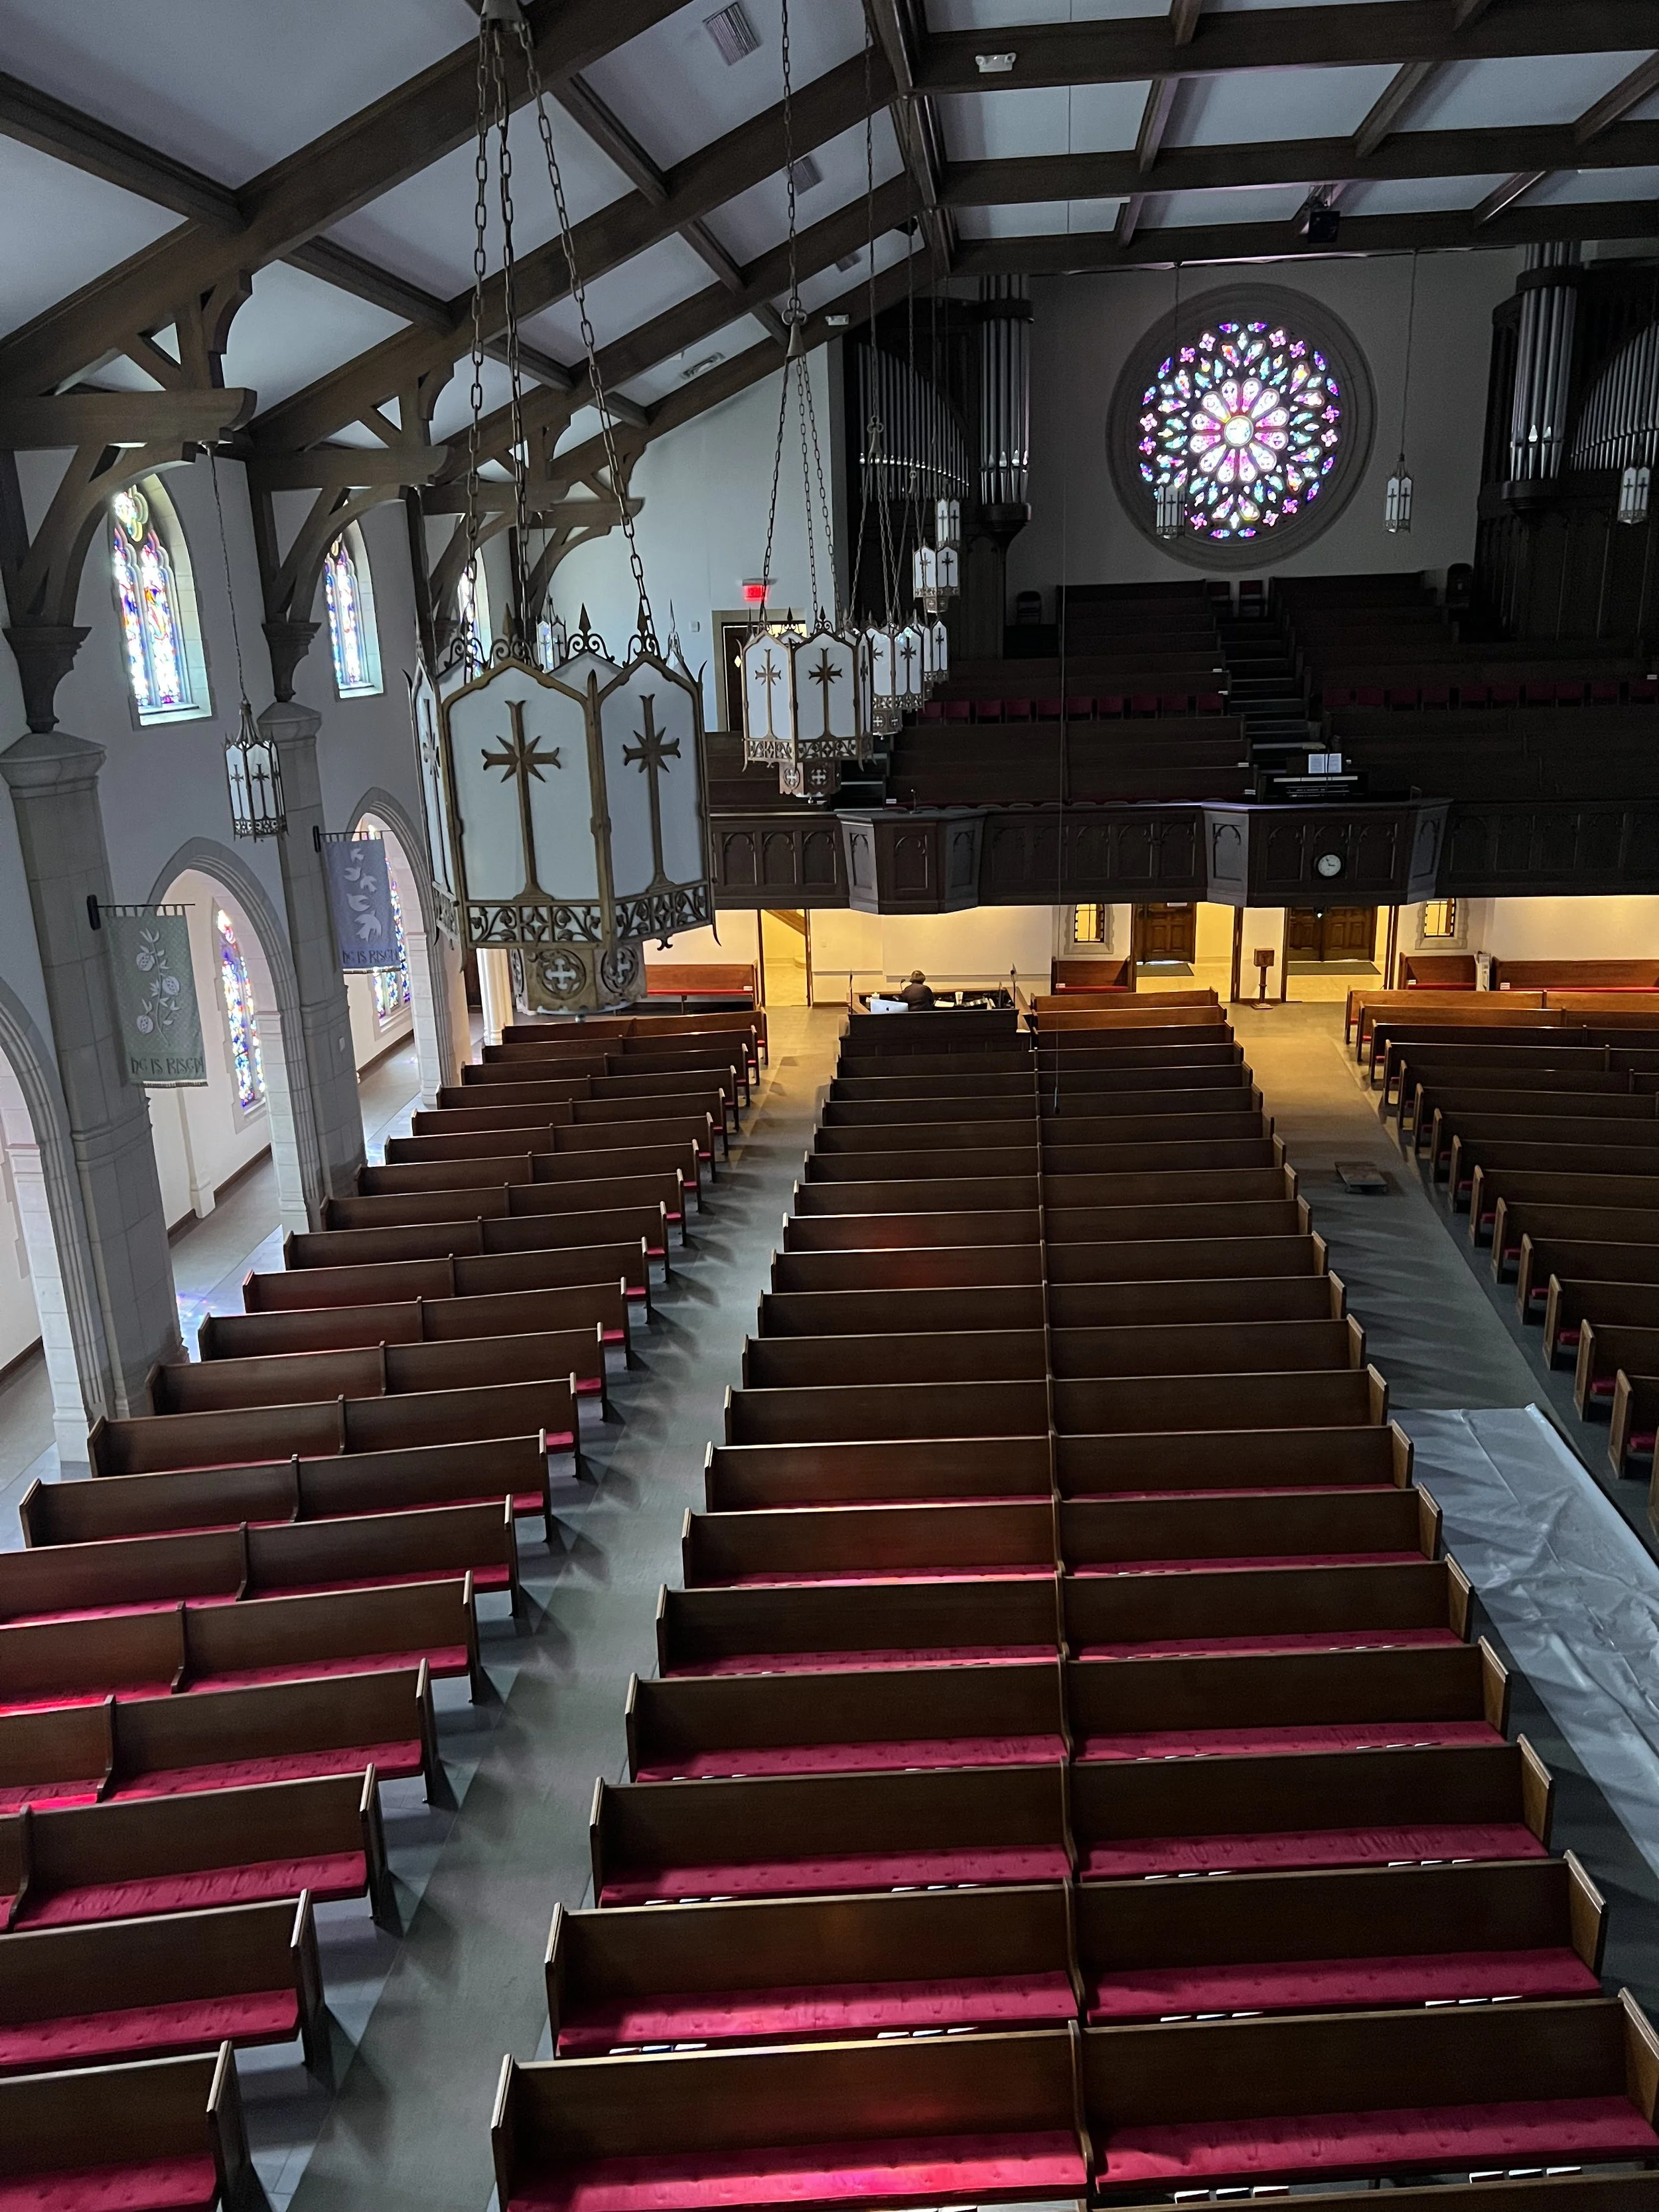
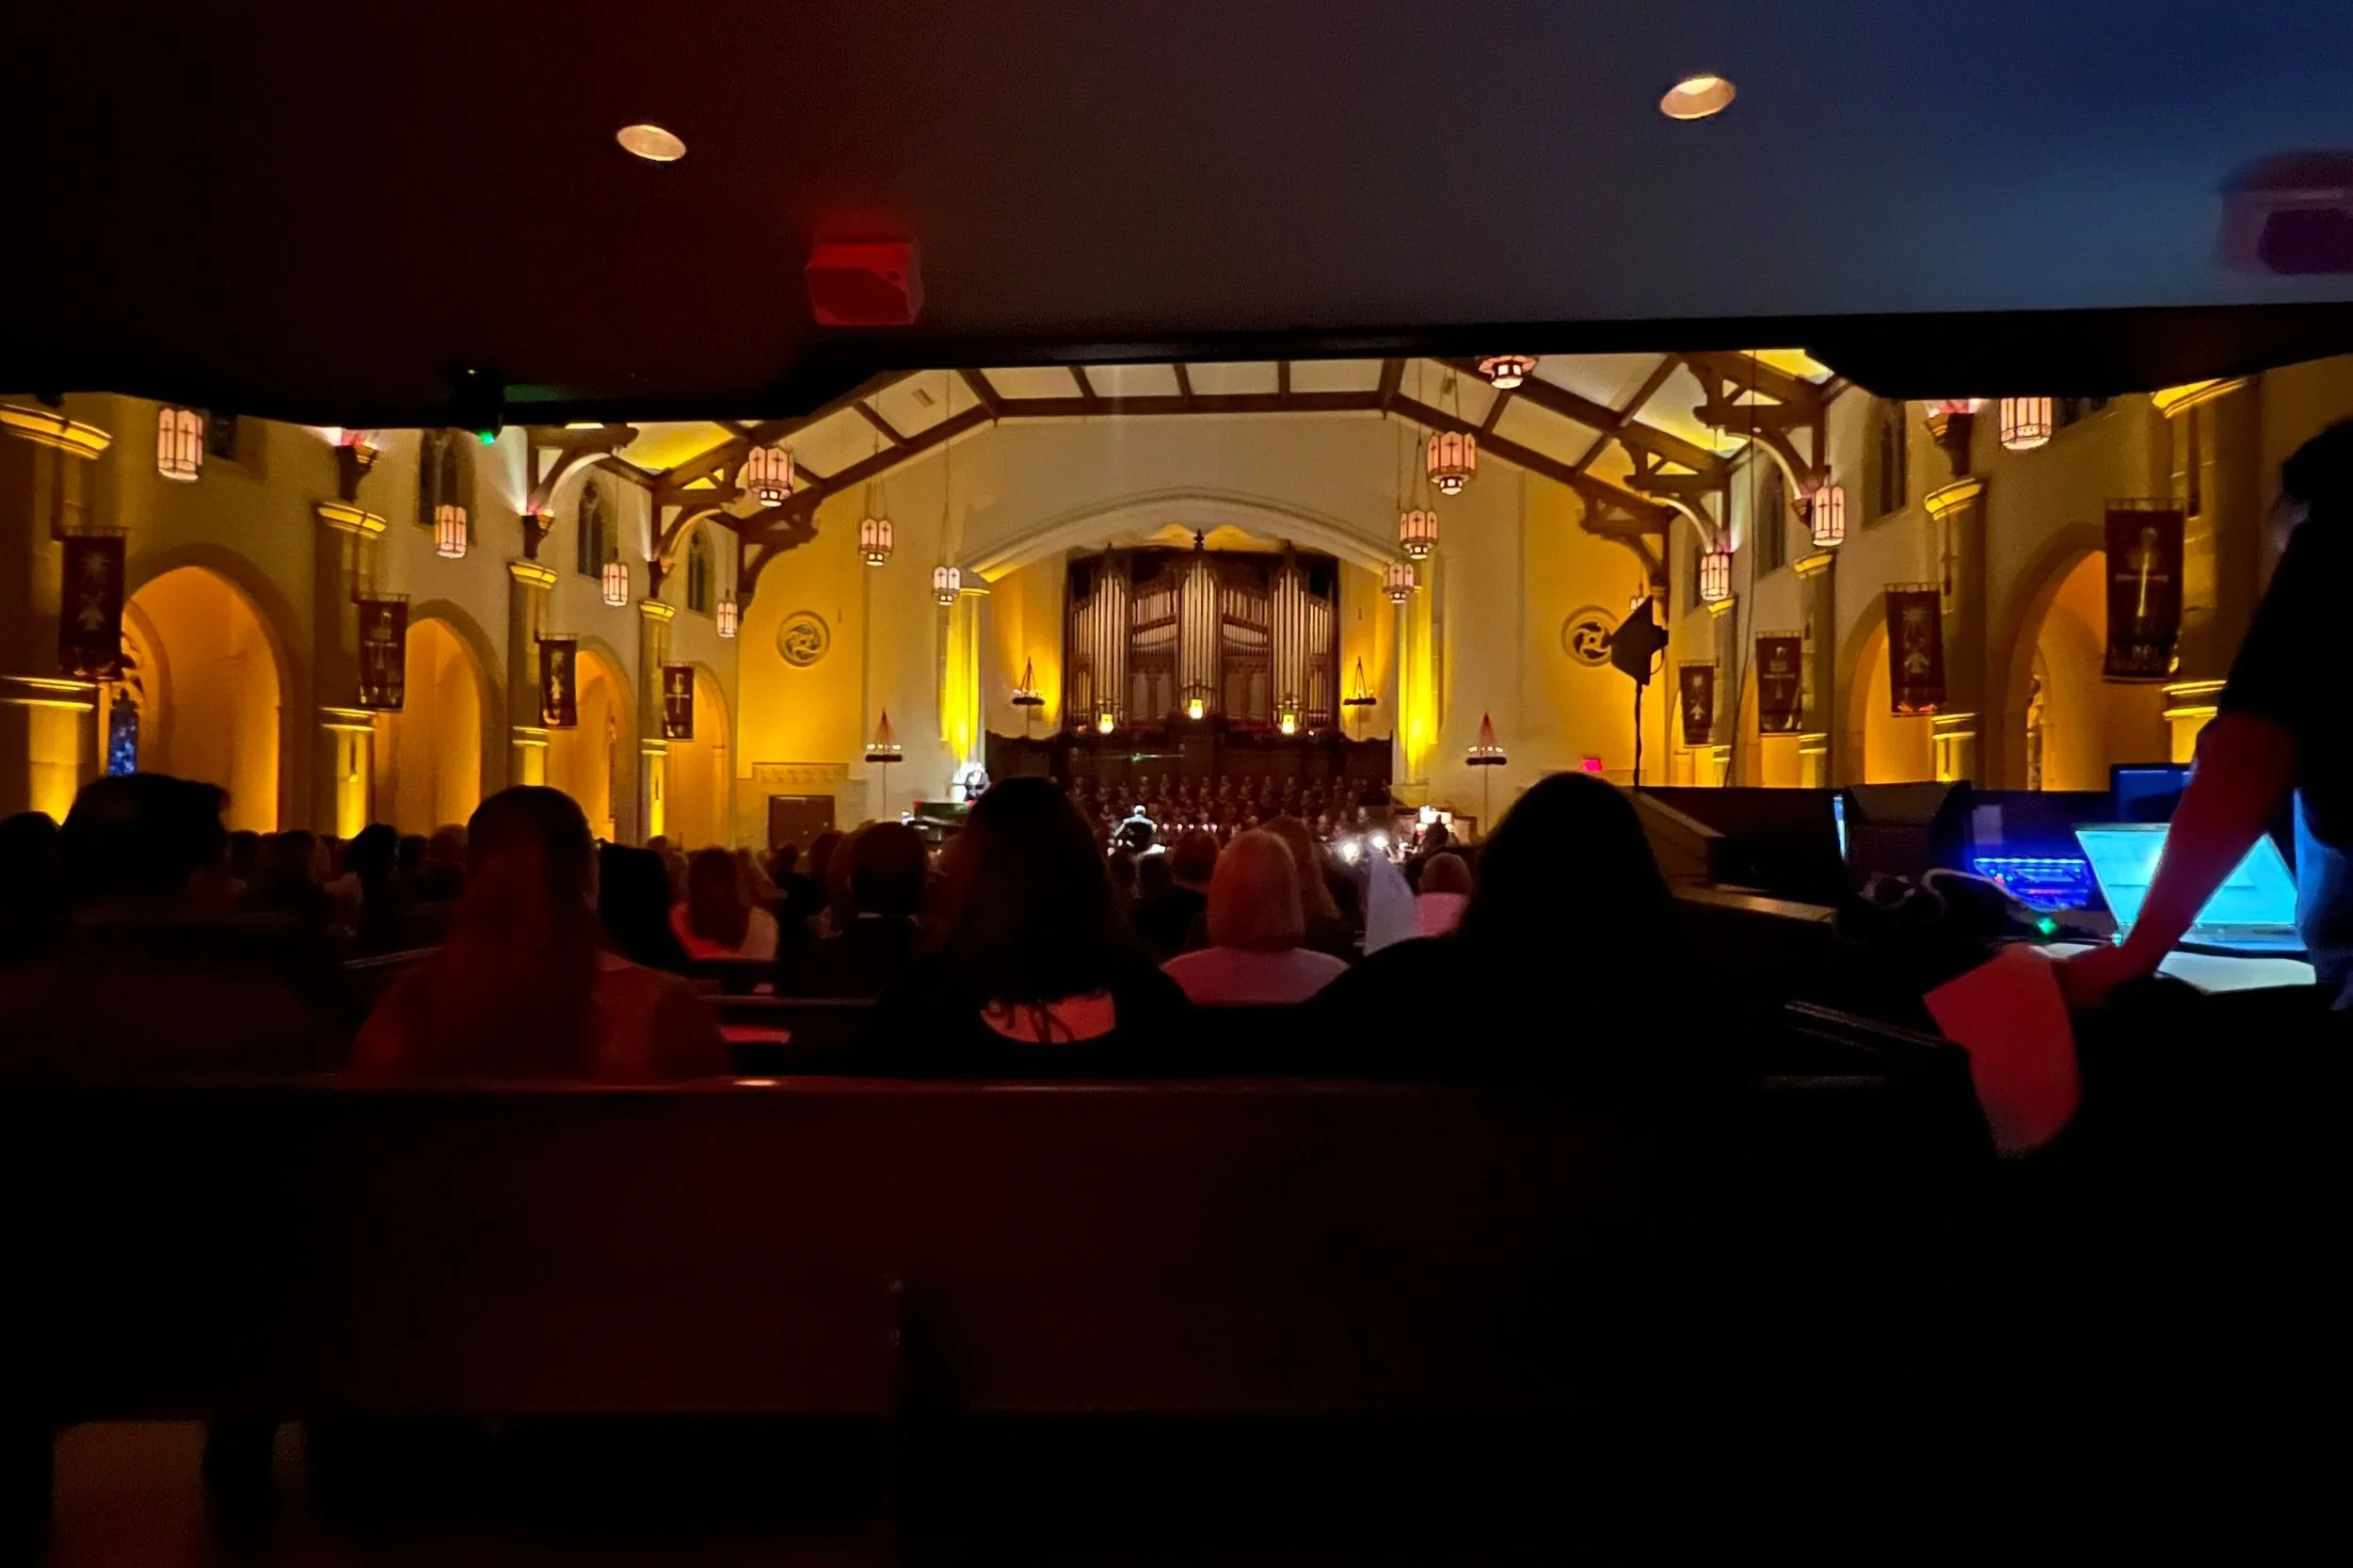
Finally, this past year, I had enough time on my hands to design and build new lanterns. I decided to use our laser cutter, and make them out of wood and plexiglass to insure a longer lifespan. I also decided, that since I was going to rebuild the lanterns, I may as well redesign them while I’m at it. The old design was great, but I really wanted them to match the chandeliers in the sanctuary. That way there would be more cohesiveness between the existing fixtures in the room and the seasonal decorations.
I waited until we rented the lift
(which we only do once a year).
Then I went up into the rafters to get
a good photo of
the chandeliers.
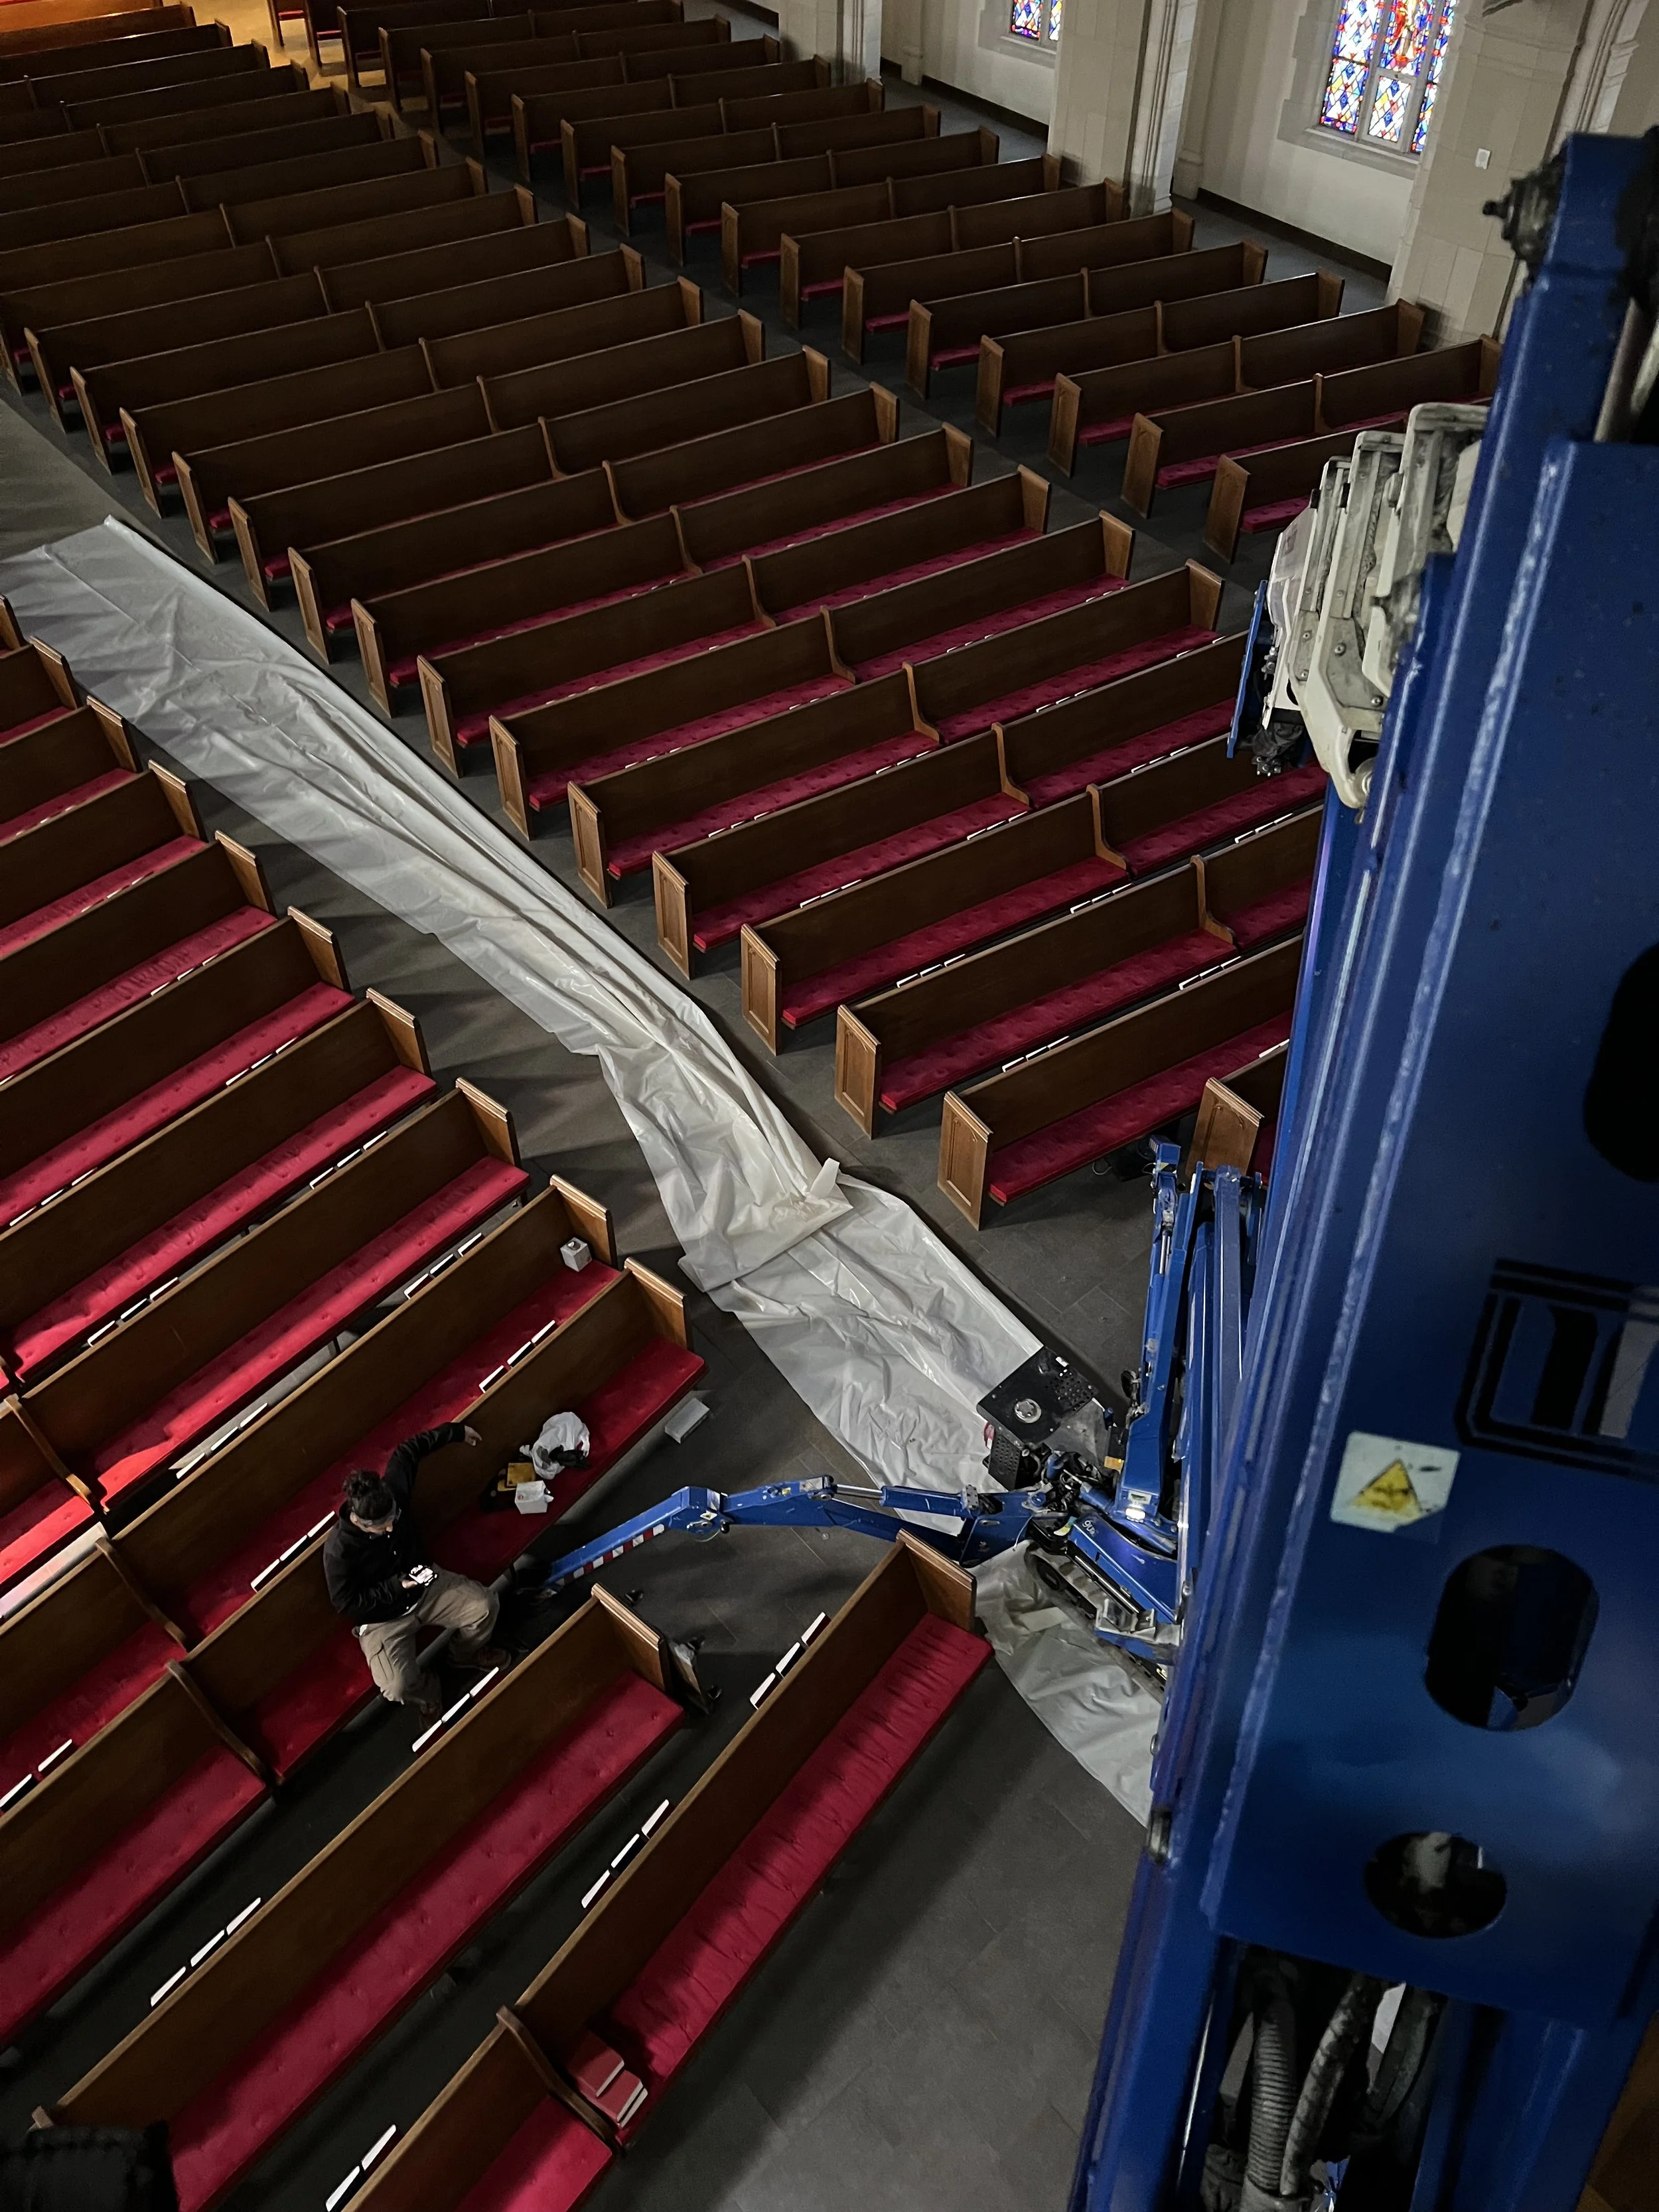
Now I know why
everyone says,
“don’t look down.” It’s terrifying!
But at least it’s a cool view!
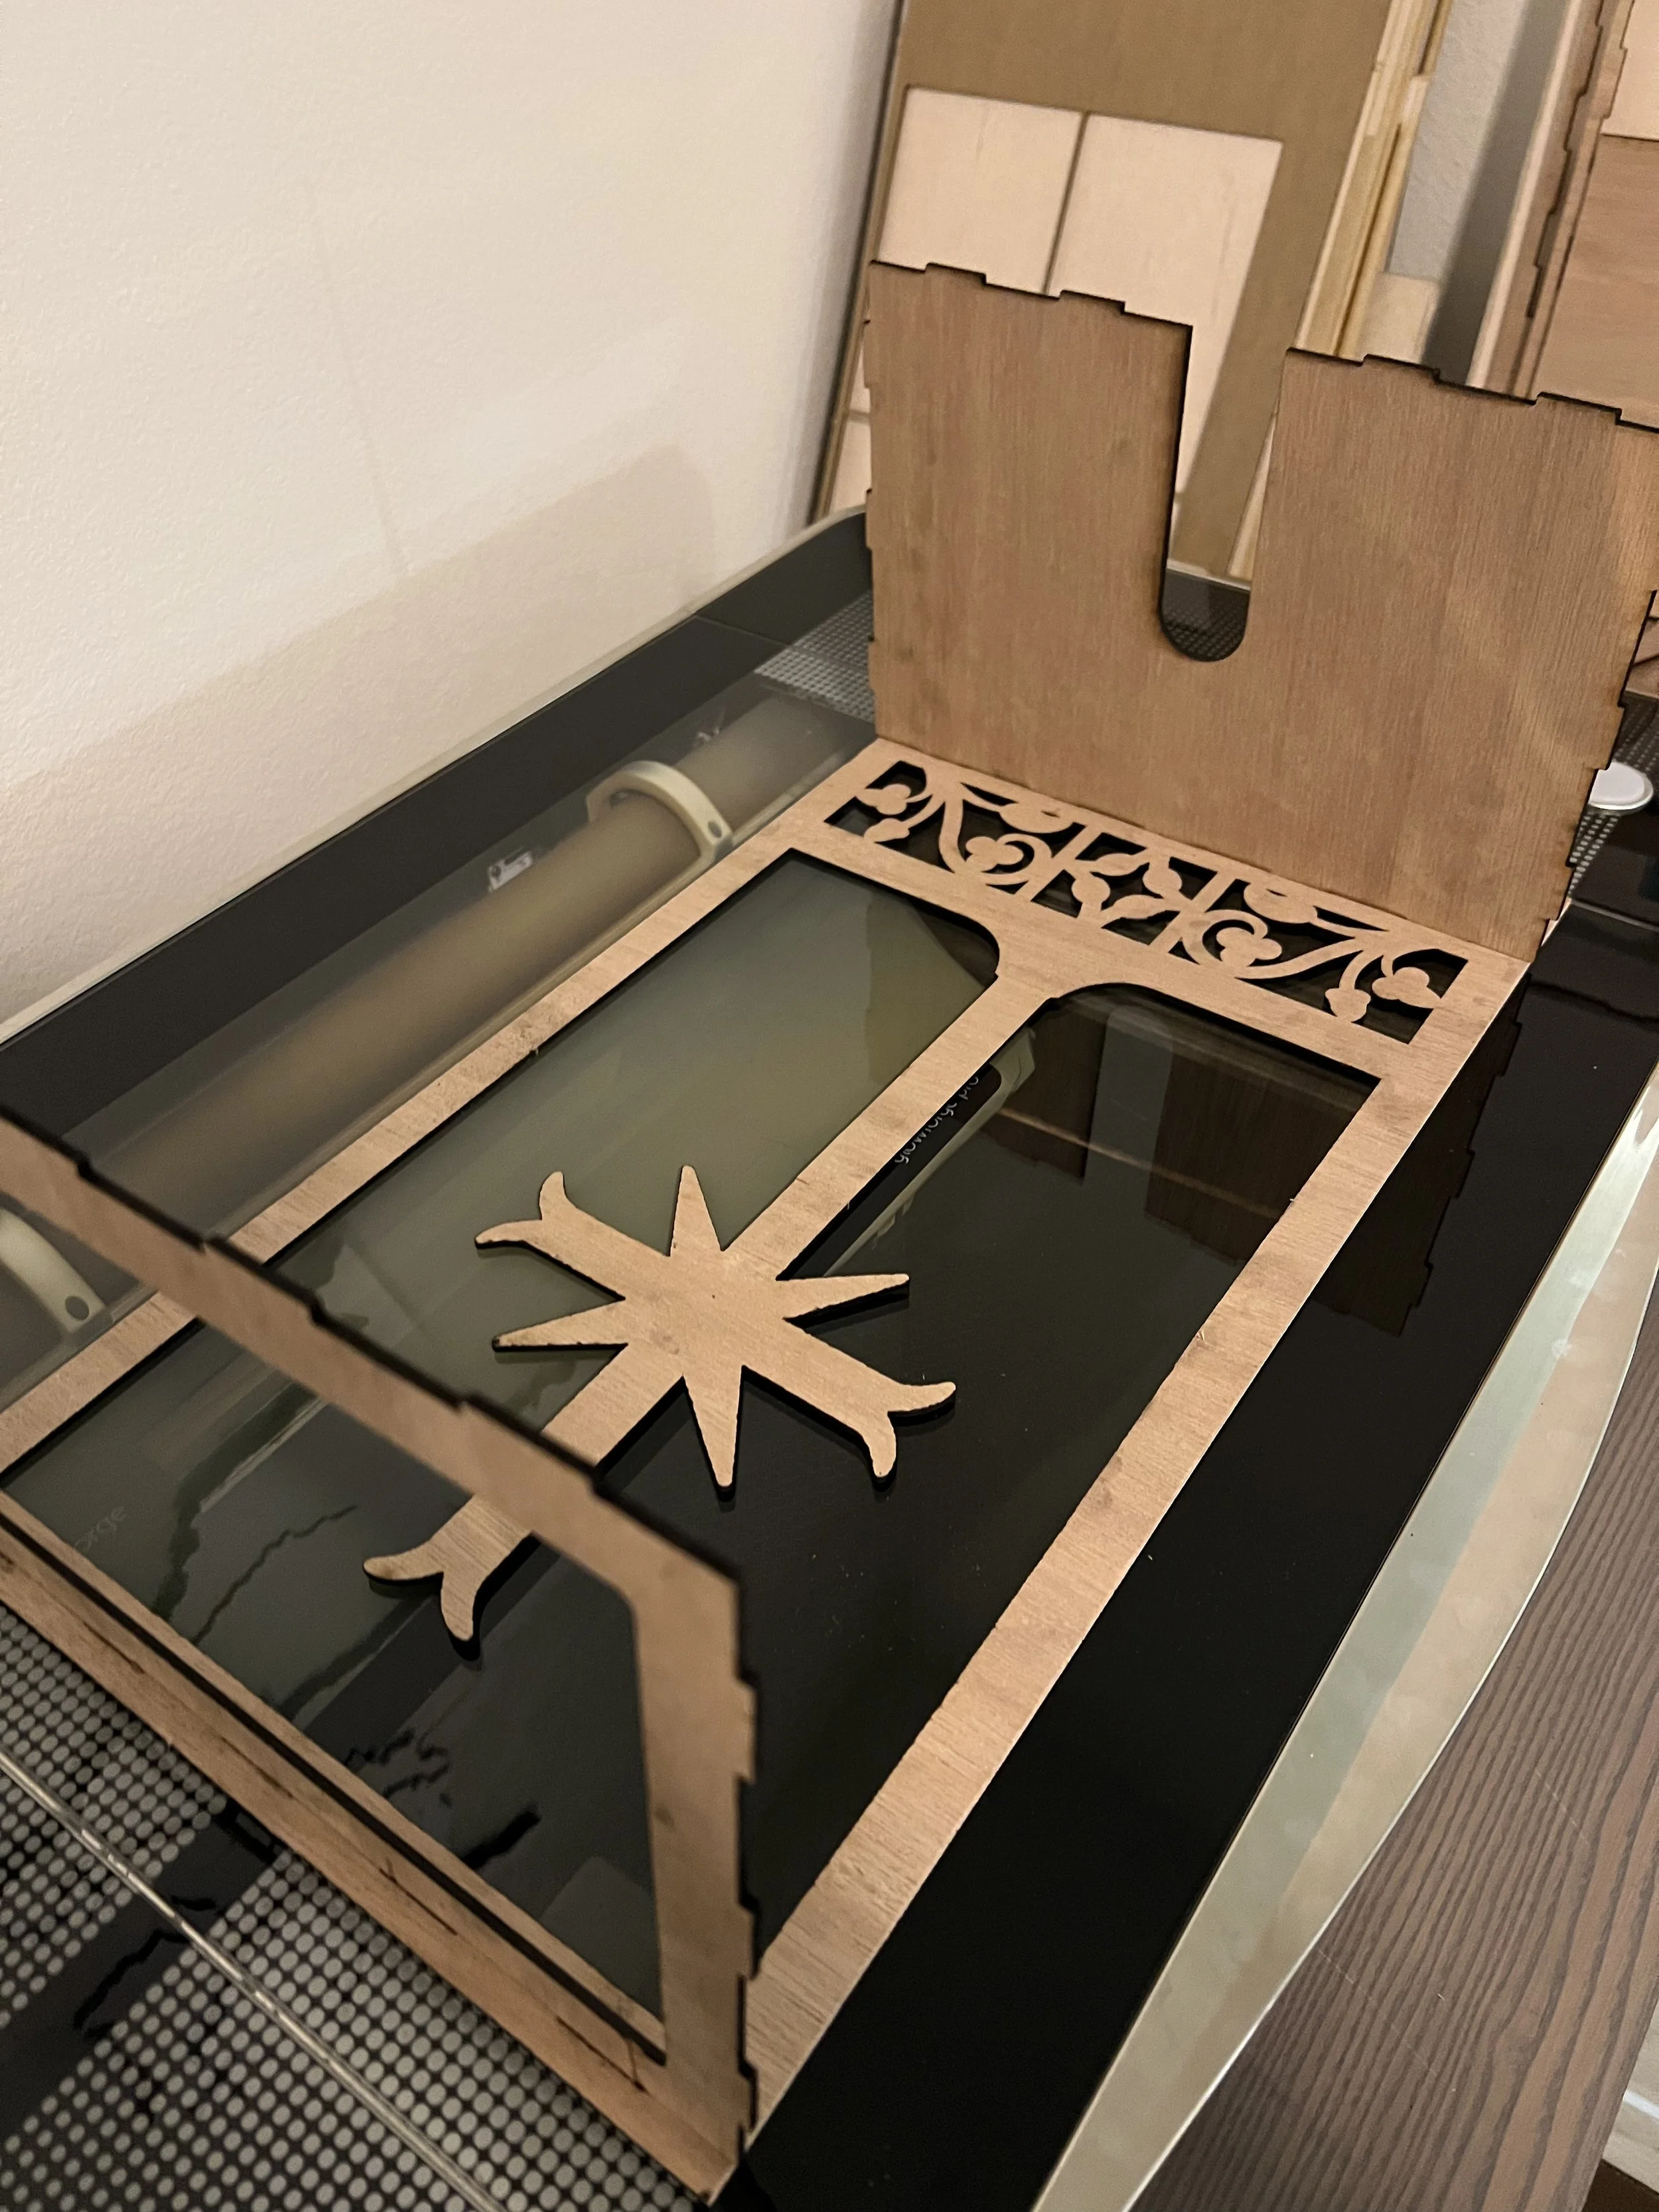
I don’t have a ton of photos of the process, but I had to make a few prototype pieces, and test cuts before I got the design and shape right. I needed to solve a number of problems. First, I needed the inside to be cut to the custom width to hold the LED light socket. There also needed to be an option for having the power cord coming out the back, and/or coming out the bottom depending on placement and configuration. I also needed to join the sides together so that there would be no light bleed on the edges. Oh, and I needed the bottom to be flat so that it would sit flush on the organ without rocking.
Prototypes and problem solving
I made finger joints along the edges of the lanterns, and they ended up being such a perfect fit that I didn’t even need to use glue. I used a digital caliper to measure the slot size for the LED light socket. At this point, all that was left was to plug them in and make sure they worked. Lastly, we painted them and cut the plexiglass inserts for the inside of each lantern. The laser did a great job cutting the plexiglass sheets, but let me tell you—I am not a fan of those fumes! Yuck! As you can see from the pictures, the larger size filled in the space on the organ much more nicely. You can even see them clearly from the back of the room. I am very satisfied with the end result! The only thing missing (because I ran out of time) is the little pyramid-shaped hats that will sit on top of each lantern. I’ll add those next Christmas!
(posted 02-08-23)
